Easy Halloween Nails: 7 Quick DIY Ideas (No Salon Needed)
Whether you’re carving pumpkins, wrangling kids into costumes, or sneaking the good sweets from the treat bowl, Halloween is a fun excuse to mix things up, starting with your nails. But let’s be honest: no one has time for a 3-hour salon appointment and intricate nail art that chips by Tuesday.
If you’re a busy mum (or just someone who values their time and sanity), these simple Halloween nail ideas are a little spooky and cute, and won’t leave you scrubbing off black polish until Christmas.
Here are some of my favourite Halloween nails that are easy to recreate at home, even if your “me time” looks more like a 15-minute window between bedtime stories and laundry folding.

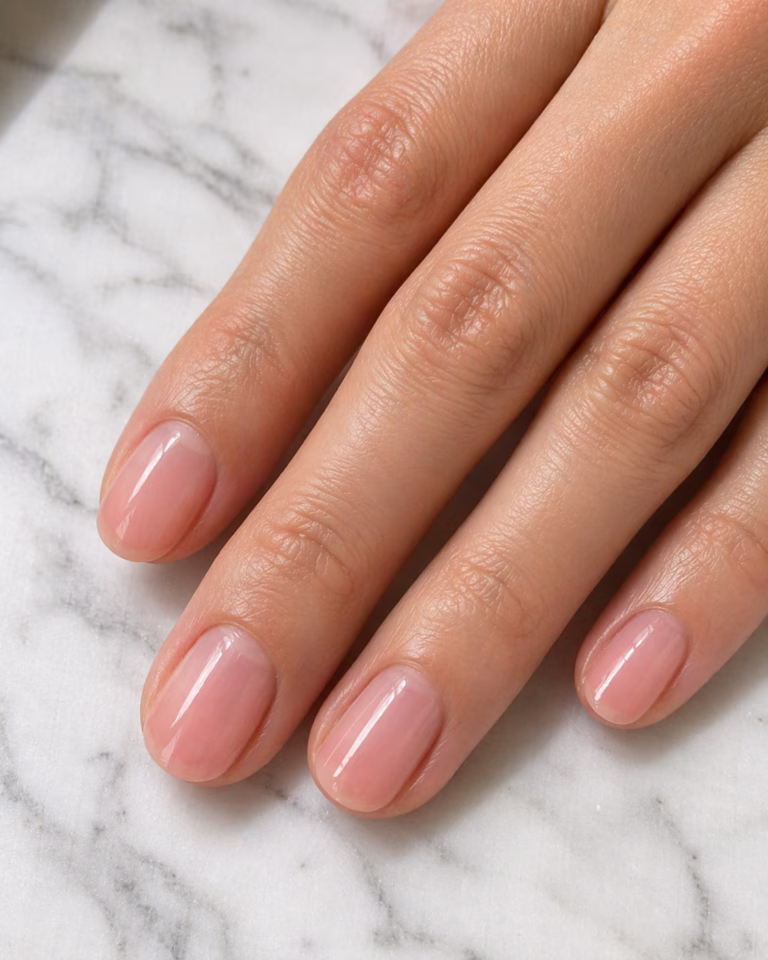
Before You Start: Prep for Faster, Longer-Lasting Results
Check out my nail care routine guide if your nails need a bit of TLC before painting!
What you’ll need: nail polish remover, base coat, fast-dry top coat, matte top coat (optional), black/white/orange polishes, thin striping brush or toothpick, dotting tool or bobby pin, nail tip guides or tape, cotton buds, acetone, cuticle oil.
Pro tips:
- Two thin coats beat one thick coat (dries faster, chips less).
- Cap the free edge with every coat to reduce tip wear.
- Always wear a base coat under dark colours (black, red, orange) to prevent staining.
- If you’re short on time, do one accent nail per hand—it looks intentional and halves the faff.
1. Classic Black with a Twist

Keep it simple: Paint all your nails black, then add a single accent nail with glitter.
It’s sleek, timeless, and gives just enough drama.
What you’ll need: black polish; glitter polish; fast-dry top coat.
Steps:
- Base coat.
- Two thin coats of black.
- Choose one accent nail: add a glitter polish.
- Finish with fast-dry top coat.
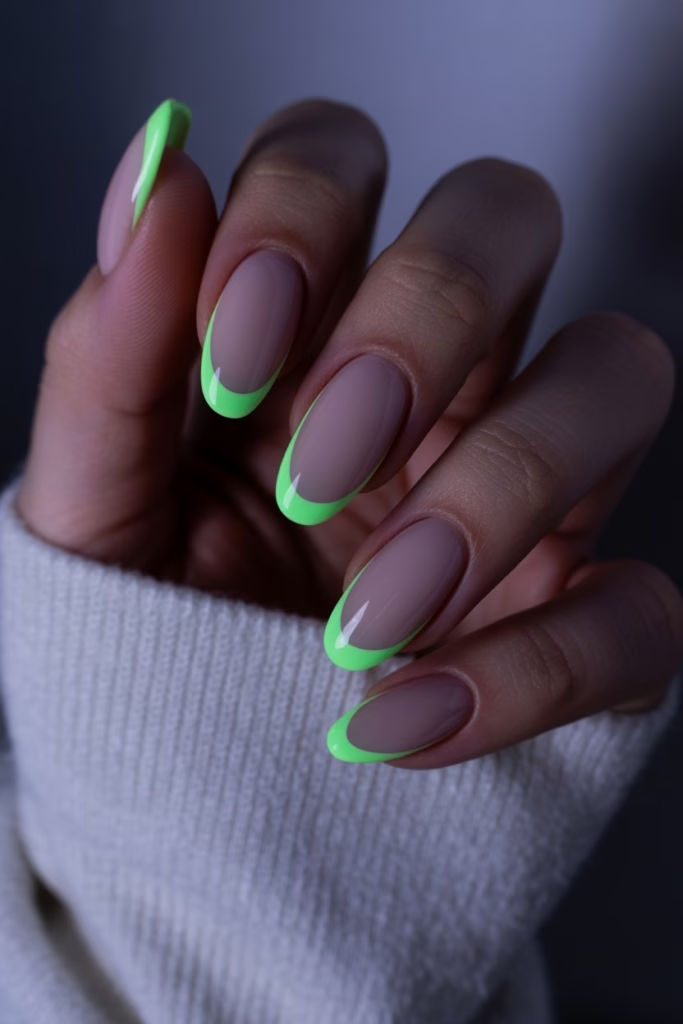
2. Spooky French Tips
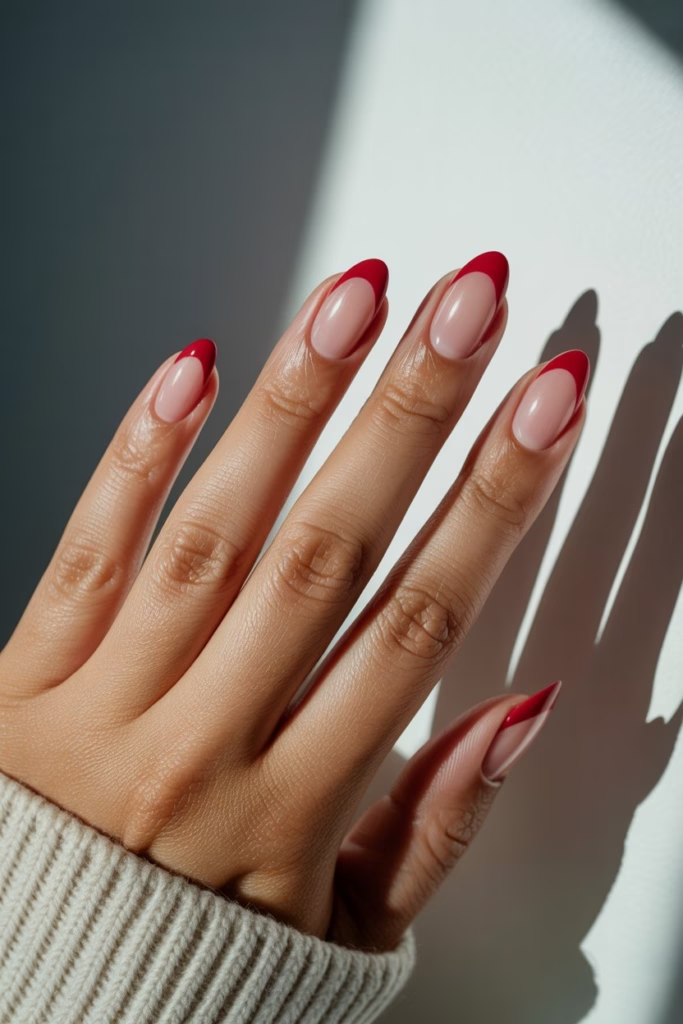
A French manicure, but make it Halloween.

Try orange, purple, or even blood-red tips instead of the classic white. You can use nail guides or a thin brush (or even a bit of tape if you’re determined and caffeinated enough).
What you’ll need: sheer or nude base; orange, purple, or deep red polish; tip guides or tape.
Steps:
- Base coat, then one coat sheer/nude.
- Apply guides; paint thin coloured tips.
- Carefully remove guides; tidy with a brush and remover if needed.
- Seal with top coat.
Make it even easier: Use press-ons with a Halloween tip design. There are plenty of budget-friendly options on Amazon or Etsy.
3. Simple Spider Web Accent

If you’re feeling a tiny bit artsy, draw a small spider web using white polish on one nail (usually the ring finger).
All you need is a thin brush or a toothpick and a steady-ish hand.
What you’ll need: black polish; white striping polish or thin brush; fast-dry top coat.
Steps:
- Base, then two coats of black on all nails.
- On one ring finger, use a brush or toothpick to draw the base lines of the web.
- Connect with two or three gentle curved lines to form a web.
- Top coat to smooth.
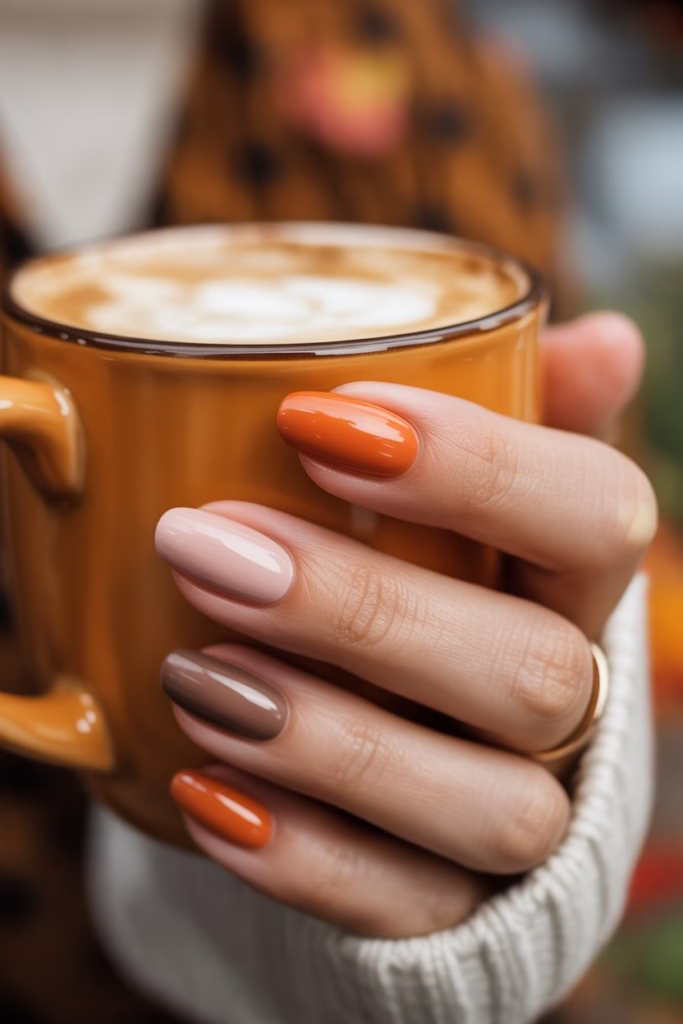
4. Pumpkin Spice Nails

Combine warm orange shades with nude or brown tones for a subtle seasonal look.
You could do alternating colours, a gradient, or even a pumpkin face sticker on one nail if you’re feeling cheeky.
What you’ll need: pumpkin orange; nude/brown; optional fine shimmer topper; top coat.
Steps:
- Base coat.
- Alternate orange with nude/brown or create a simple gradient (light to dark).
- Optional: shimmer topper on one accent nail.
- Top coat.
This one feels festive, not costume-y. Great if you want Halloween vibes without going full haunted house.
5. Ghostly White Nails
White nails might not scream Halloween, but add a pair of black dot “eyes” with a bobby pin or dotting tool, and suddenly, you’ve got the cutest mini ghosts. My kids love this one!
Bonus: This one is super quick and works with short nails too.
What you’ll need: opaque white; black polish or marker for dots; dotting tool/bobby pin; top coat.
Steps:
- Base, then two coats white.
- Use a dotting tool or bobby pin to place two black eyes on two nails.
- Top coat to seal and smooth.
6. Glow-in-the-Dark Polish
You can pick up glow-in-the-dark nail polish from most beauty retailers around Halloween. Just layer it over a pale base, and you’ll have nails that actually glow at bedtime story time.
Warning: Kids will be obsessed and may visit during the night to sneak a peek!
What you’ll need: pale base (sheer pink or milky white); glow-in-the-dark topper; top coat.
Steps:
- Base, then one to two coats of a pale base.
- Apply one to two coats of glow topper or paint on tips, as shown in the image above.
- Finish with a top coat.
7. Mummy Nails

Paint nails a light nude or pale grey, then add criss-cross “bandage” lines using white or silver striping polish. Two black dots for eyes and you’ve got yourself a tiny mummy.
Looks complicated, but isn’t! Perfect for those last-minute moments when you want to join in on the Halloween fun without going overboard.
What you’ll need: pale grey or nude; white striping polish; black polish for eyes; top coat.
Steps:
- Base, then two coats of pale grey/nude polish.
- Swipe thin, irregular white lines across like bandages (leave small gaps).
- Add two tiny black dots for eyes.
- Top coat to blend and smooth.
Removal & Stain-Prevention (Because No One Wants Orange Nails in November)
- Always start with a base coat under dark or bright colours.
- For stubborn residue: lightly buff, then use non-acetone remover and finish with cuticle oil.
- Glitter? Use a peel-off base or the foil method (soak a remover-soaked pad, wrap with foil for 5–7 minutes, slide off).
Whether you’re heading to a party, trick-or-treating with the kids, or just staying home with Hocus Pocus and a chocolate stash, these easy Halloween nail ideas will add a little spooky sparkle to your day.
FAQs
Can I do Halloween nails on short nails?
Absolutely. Thin French tips, ghost eyes, web accents, and solid black with a matte accent all look great on short nails.
How do I stop black or red polish from staining?
A proper base coat is non-negotiable. Remove gently, then use cuticle oil to nourish.
Press-ons: nail tabs or glue?
Tabs are gentler and ideal for one-night wear. Glue lasts longer (several days to a week) but requires more careful removal.
How long will these last?
With a good top coat and thin layers, expect 4–7 days. Reapply top coat every 2–3 days to refresh shine and durability.
Are these office-friendly?
Yes but keep tips thin, choose burnt orange or deep plum over neon, and limit art to a single accent nail.
You May Also Like
- Top Autumn Nail Colours – if you want something seasonal but a bit more classy!
- Fall Capsule Wardrobe
- Stylish Halloween Decor Ideas
- Fall & Halloween Table Decor Ideas
Pin or Share
If you try one of these, share your nails in the comments or tag me on Instagram. Don’t forget to pin this post so you can come back to it before the big night.