Lace Nails Are 2026’s Biggest Trend, Here’s How to Get the Look
If you’ve opened Pinterest at all this month, you’ve probably already seen them. Delicate lace patterns stamped, painted, or appliquéd onto nails, somewhere between bridal elegance and gothic romance. It’s one of those trends that looks far more complicated than it actually is, which I think is exactly why it’s taken off the way it has.
Lace nails aren’t exactly new; they’ve shown up in bridal manicures for years, but they are popping up everywhere at the minute. They’ve become less “wedding only” and more “everyday fun nail style” That’s the bit I love about it. You don’t need a special occasion to justify it.
This post pulls together the most popular ways people are wearing lace nails right now, organised by colour and style, so you can scroll through and find the one that actually fits your life, whether that’s a low-key version for the school run or something a bit more dramatic for a night out.
This post may contain affiliate links, which means I’ll receive a commission if you purchase through my links, at no extra cost to you. Please read full disclosure for more information.
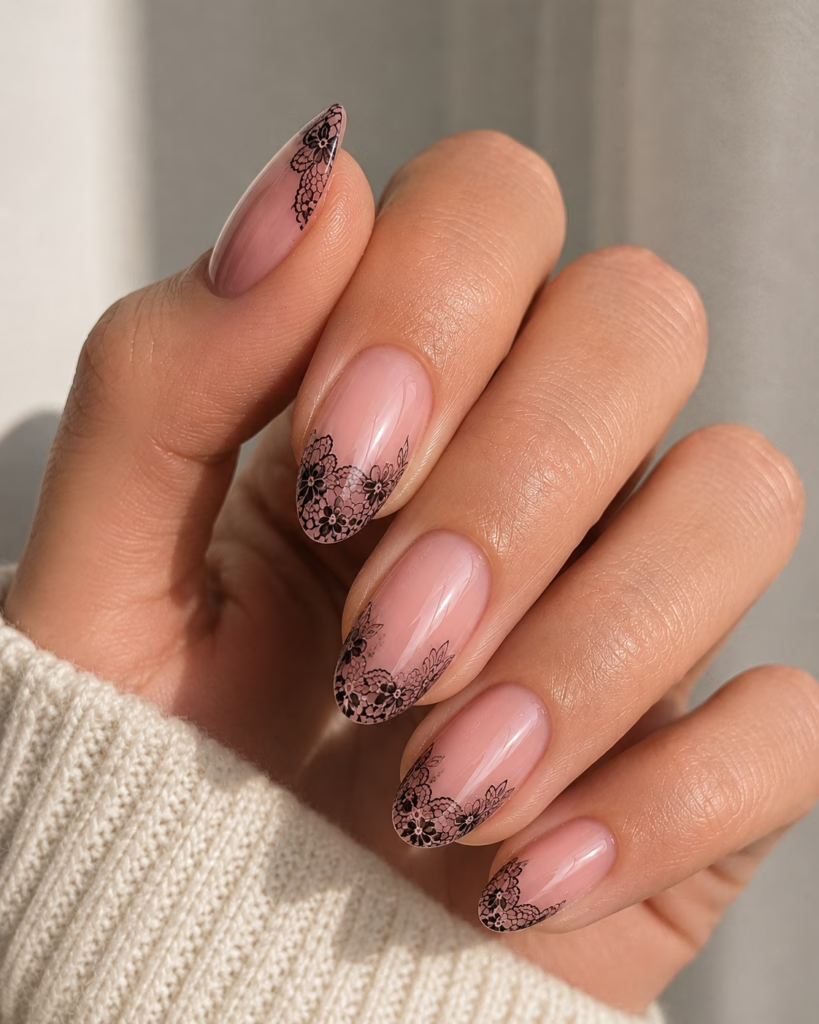
1. Black Lace Nails
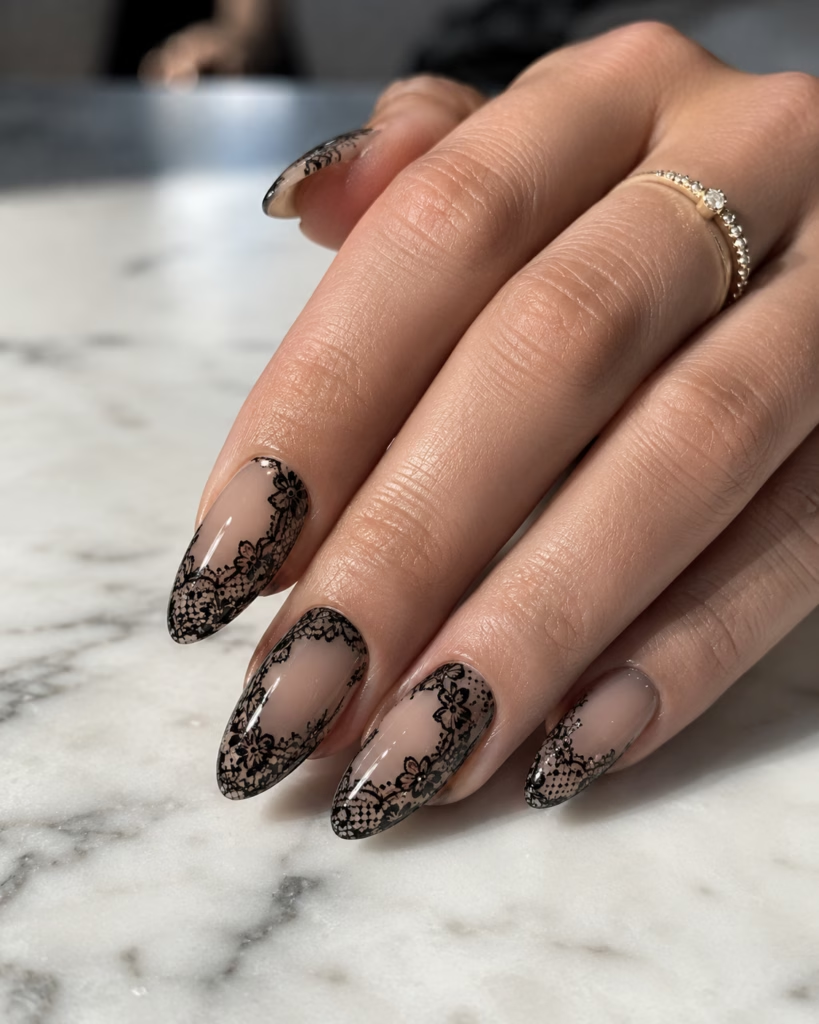
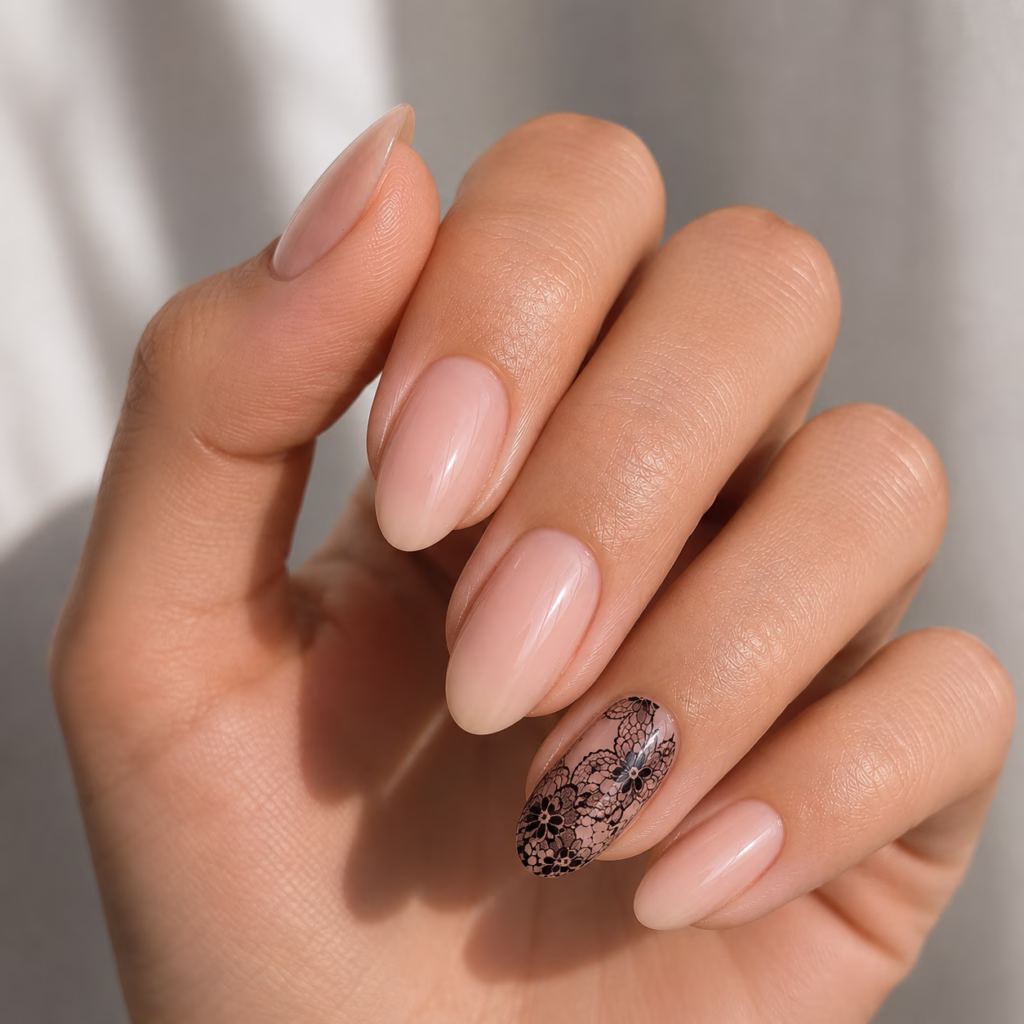
Black lace is the most searched lace nail style by a wide margin, and it’s easy to see why. It reads as elegant rather than goth, especially on an almond or square shape, and it pairs well with almost any base colour underneath. Sheer black lace over a nude base is the most wearable version if you’re new to the trend. For something bolder, a solid black base with white lace detailing on one or two accent nails gives you the look without committing your whole hand to it.
If you’re after low maintenance, ask for the lace detail on just your ring fingers rather than all ten nails. It still fits the trend but grows out more gracefully and takes less time in the chair.
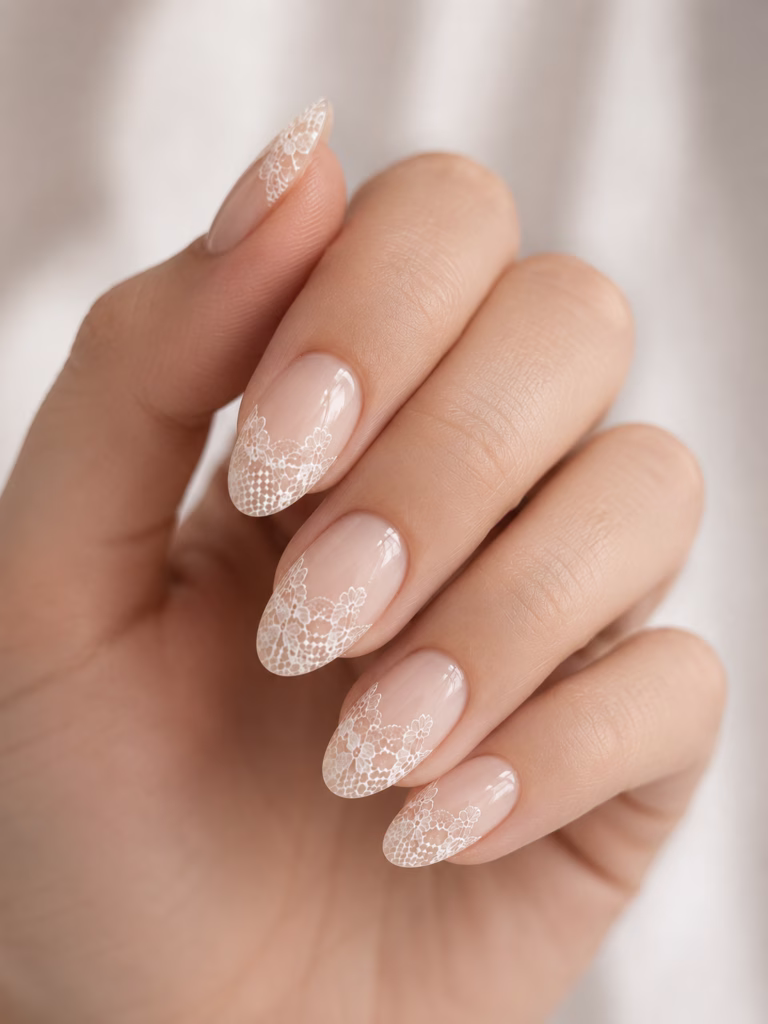
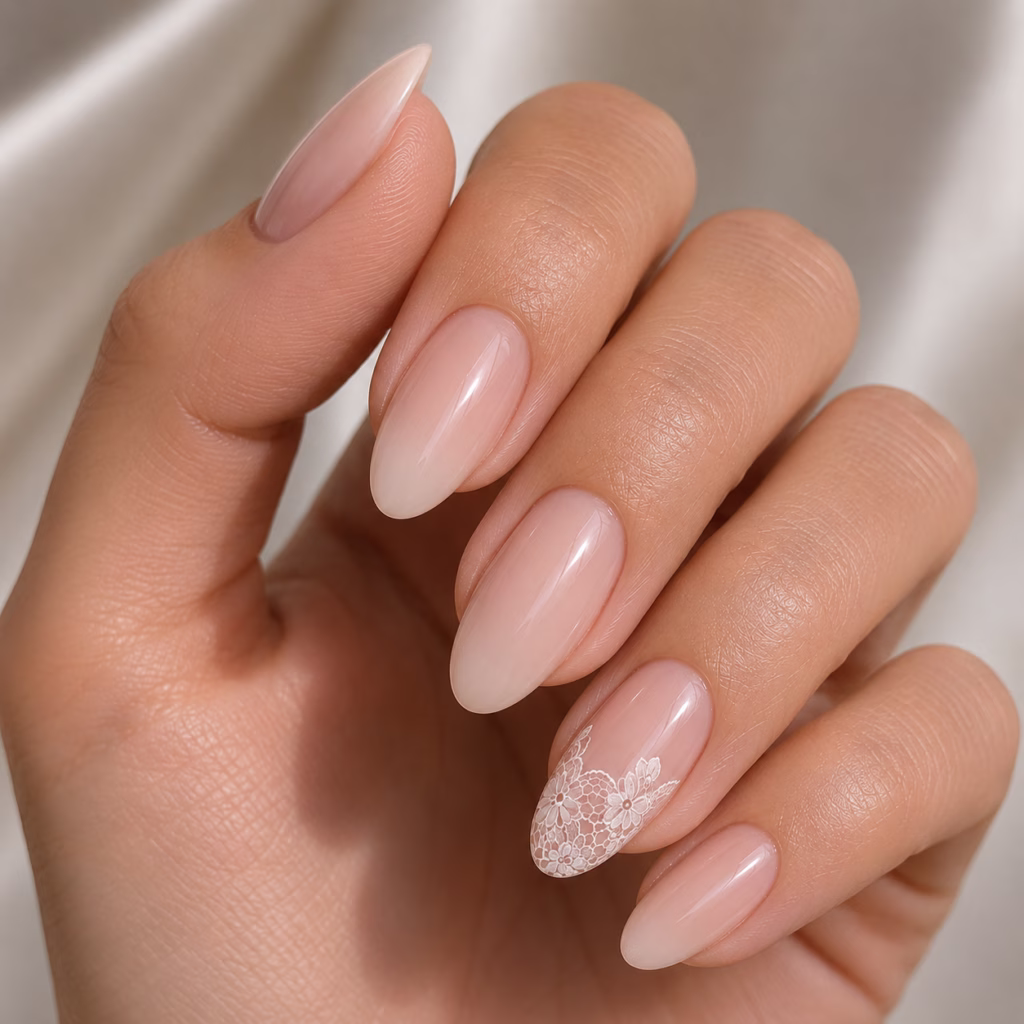
2. White Lace Nails
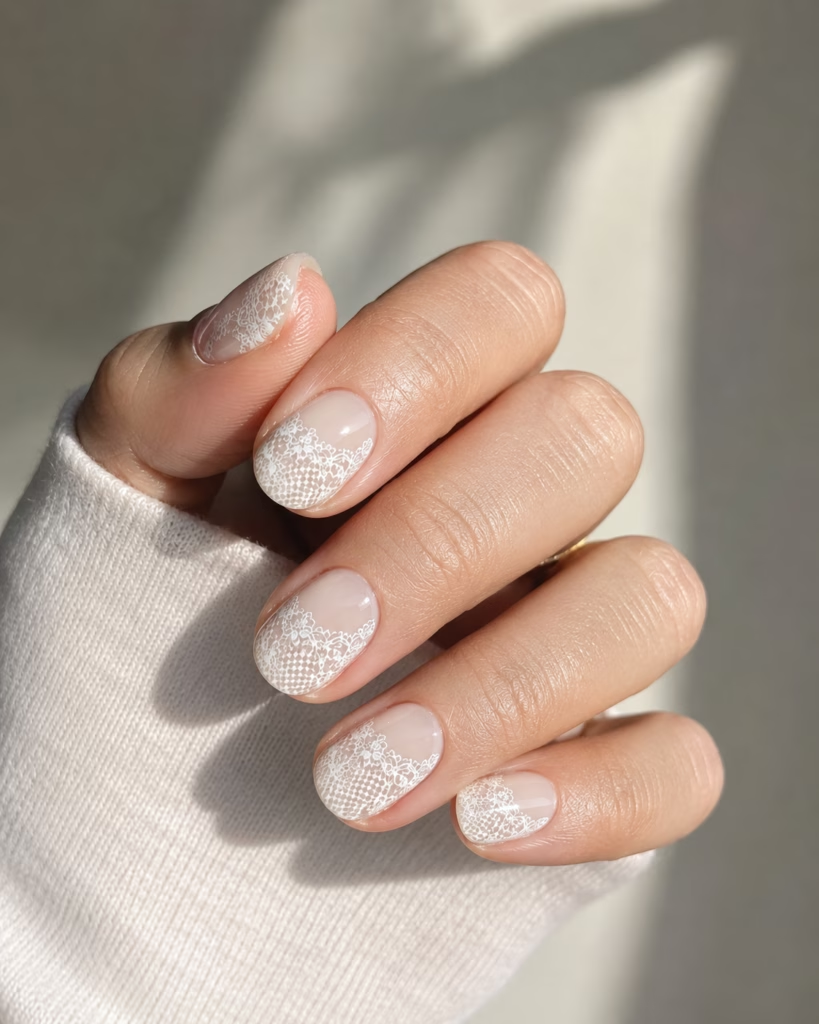
White lace nails sit somewhere between bridal and minimalist, and they’re having a real moment outside of wedding season too. A soft white or milky base with fine white lace detailing is barely-there elegant, the kind of manicure that photographs beautifully and makes you feel really put-together.
This is also the easiest lace style to do yourself if you’re a beginner, since white-on-white forgives small mistakes far more than a high-contrast colour combination would.
3. Lace French Tip Nails
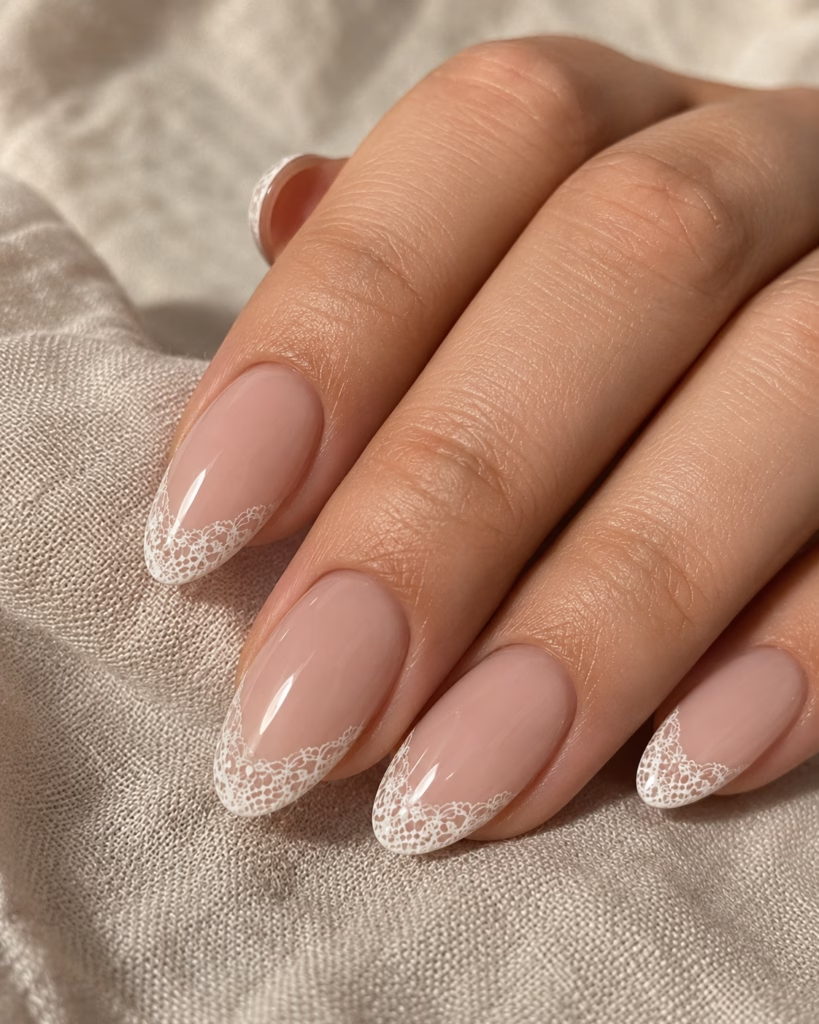
This is the crossover trend, taking the French manicure most of us already wear and adding a lace edge along the tip instead of a plain white line. It keeps the classic, easy-to-style look of a French manicure but adds enough texture to feel current.
It’s a good middle ground if you love the idea of lace nails but aren’t ready for a full lace pattern across the whole nail. Start here if you’re unsure. Here are some more French Tip Nail Ideas!
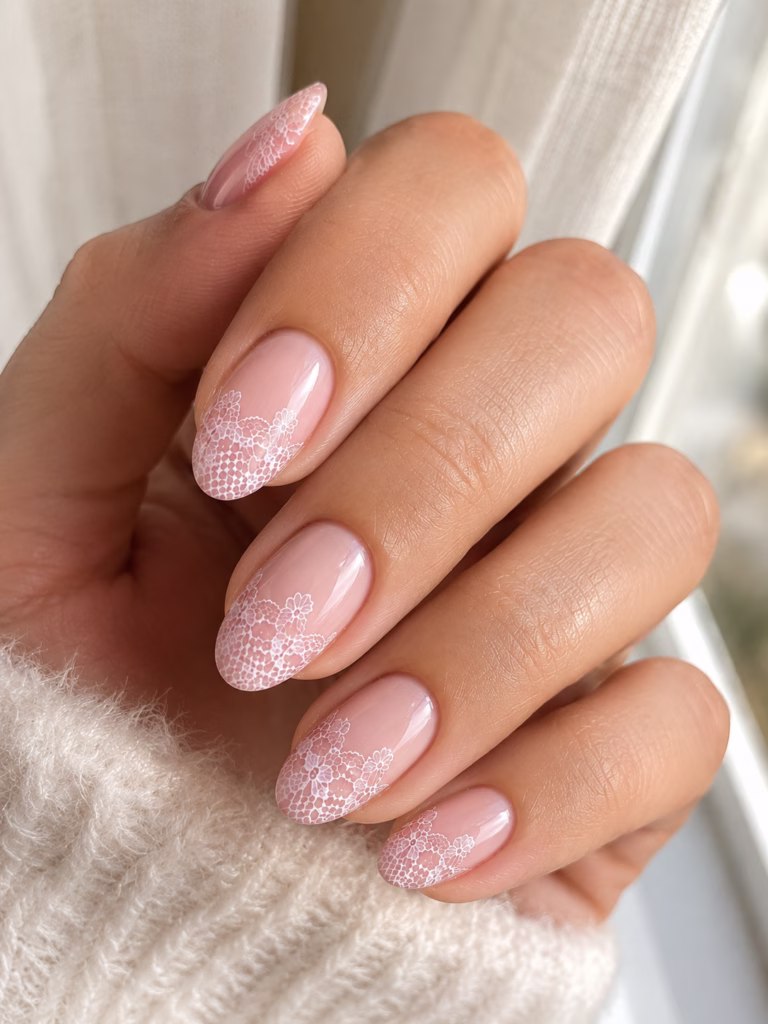
4. Pink Lace Nails
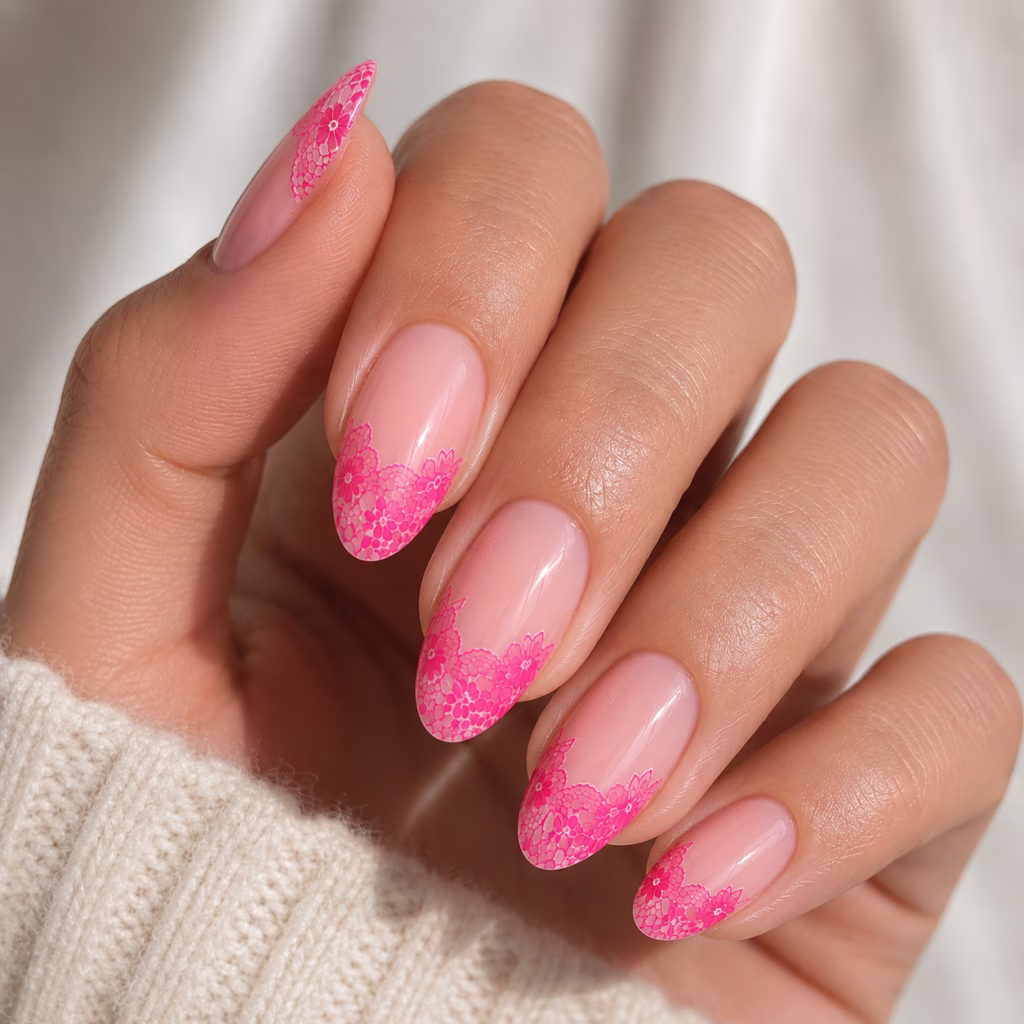
Pink lace nails are a softer, more wearable take on the trend, and they’re searched for nearly as much as black. A soft pink base with white or sheer lace detailing keeps things feminine without veering into bridal territory, and it’s an easy way into the trend if black or red feel a bit much for everyday wear. Pair it with black lace detailing instead of white if you want something with a bit more edge.
5. Red Lace Nails
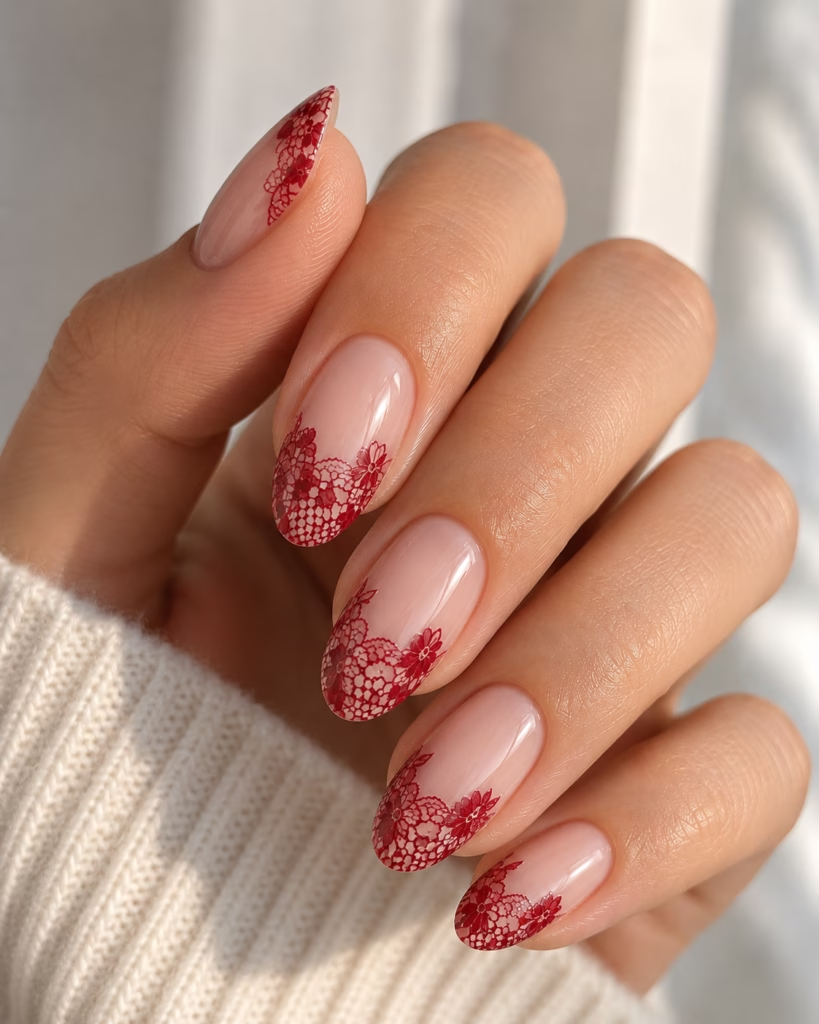
Red lace nails bring the drama, and they’re one of the more searched colours in the trend behind black and white. A deep red base with black lace detailing reads as bold and a little vampy, especially in a glossy finish, while a sheer red over a nude base softens the look considerably if you want something a bit more wearable day to day.
Check out my new Red Summer Nails post for more fun red nail inspo!
6. Blue Lace Nails
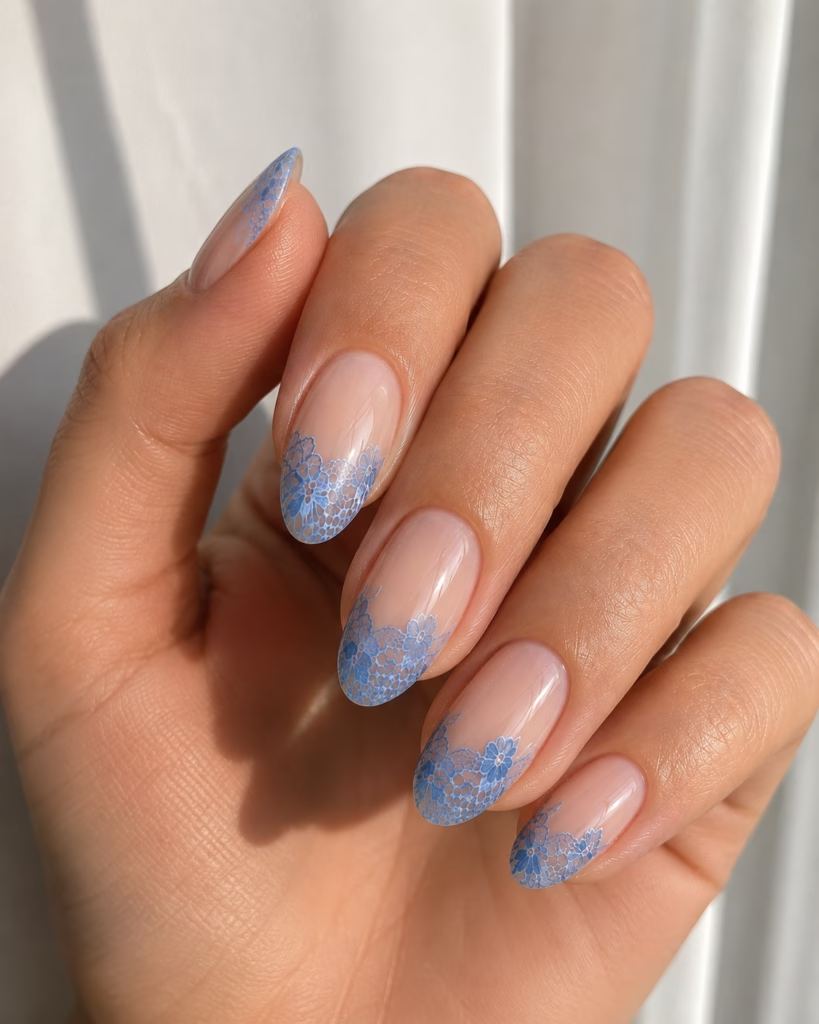
Blue lace is the colour combination most people overlook, and it’s worth a second look. A dusty or denim blue base with fine white or silver lace detailing reads as fresh rather than wintry, which makes it more versatile than people expect. It also tends to suit cooler skin tones particularly well, since the blue base sits closer to your natural undertone than black or white.
7. Bridal Lace Nails
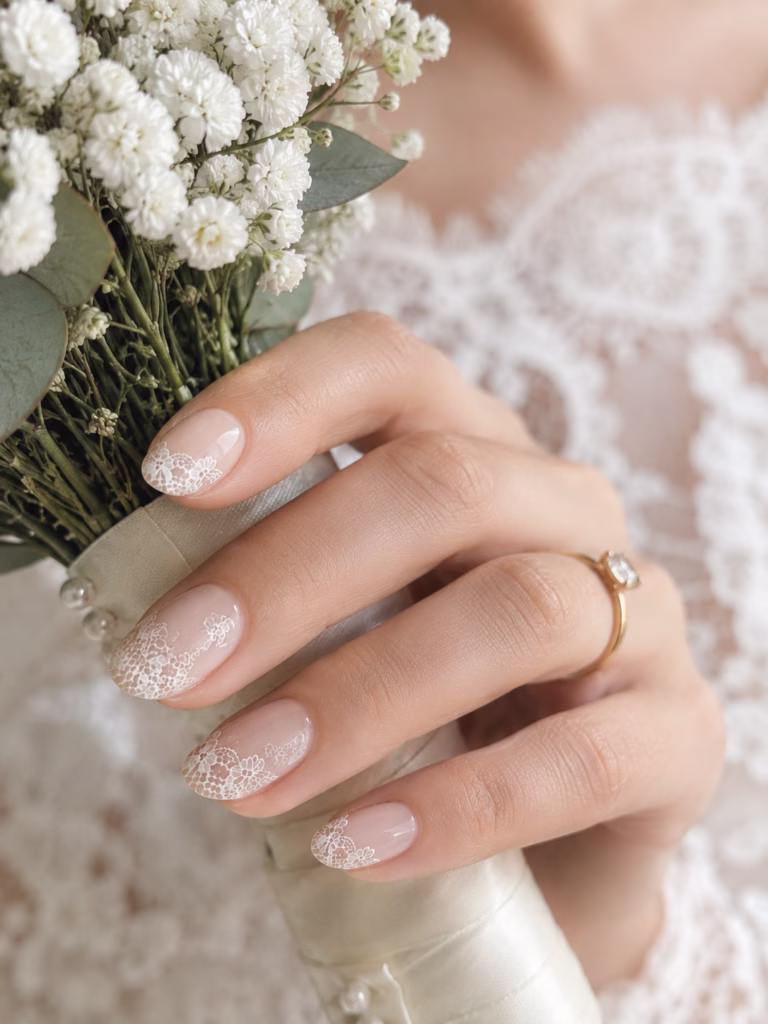
For brides, lace nails are an easy way to tie your manicure into your dress without it being matchy in an obvious way. Pulling an actual lace pattern from your dress or veil and recreating it on your nails is a popular request right now, and a lot of bridal nail techs can work from a photo of your dress fabric directly.
A soft white or champagne base with delicate lace detailing on the ring finger only is a popular understated option if you don’t want every nail to compete with your bouquet and dress for attention. To complete your bridal beauty look, check out my nude lipstick guide.
How to Try Lace Nail Art at Home
You don’t need salon tools to get a decent lace manicure at home. There are really three routes in, depending on how much patience you’ve got and whether you want this to take ten minutes or an hour.
Option 1: Lace Decals (the no-skill route)
If you want the look with zero nail art ability required, pre-made lace decals are the easiest way in. Apply your base colour, let it dry fully, press the decal on, then seal with a top coat. Most packs run somewhere in the £5 to £15 range and give you several designs to play with, so it’s a good one to try before committing to stamping plates or polish.
Option 2: Stamping (the most forgiving DIY method)
This is the technique I’d recommend if you want something a bit more custom but still don’t trust your hand-painting skills (no judgement, most of us don’t).
- Start with clean, shaped nails and a base coat
- Apply two thin coats of your chosen base colour and let it fully dry
- Apply a thin layer of stamping polish to your lace design plate
- Scrape off the excess with a scraper card, leaving polish only in the etched lines
- Press the stamper firmly onto the plate to pick up the design
- Roll the stamper onto your nail before the polish dries
- Seal with a top coat once everything is fully dry
The biggest tip here is speed. Stamping polish dries fast, so work on one nail at a time rather than prepping all ten fingers first. This lace stamping kit from Amazon comes with loads of great reviews.
Option 3: Hand Painted Lace (for when you’ve got time and patience)
This is the advanced option, and honestly I’d only suggest it once you’ve practised the simpler methods first. You’ll need a thin detail brush and a steady hand. Start with a simple motif, maybe a few crisscrossing lines and small dots, rather than trying to replicate a full intricate pattern on your first go. A lot of nail techs build the “pantyhose” lace effect this way, painting a border around the nail, adding a dotted or crisscross pattern in the middle, then sealing it under a sheer tinted top coat so the whole thing looks like it’s sitting just beneath the surface. It’s a slower process, but it’s the version that looks most like genuine lace fabric once it’s done.
Whichever method you go with, the same rule applies: practice on one nail before you commit to all ten.
Common Mistakes to Avoid
- Skipping the base coat. Lace designs rely on contrast, and a bare nail underneath can make the pattern look patchy as it ages
- Using regular polish for stamping. Standard polish dries too quickly and won’t transfer properly; you need polish made specifically for stamping
- Going too intricate on your first try. Save the detailed hand-painted look for once you’ve practised the simpler stamping method a few times
- Forgetting a top coat. Lace detailing without a sealing top coat tends to chip and lift at the edges much faster
- Choosing a pattern with too much contrast for everyday wear. A high contrast black and white lace look is gorgeous, but it shows growth and wear more visibly than a tonal version
Save these images to Pinterest so you can come back to your favourites later!